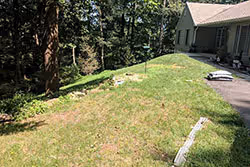
Let me start by saying that I realize this wall isn’t massive, especially by commercial standards. This article is written for contractors who are starting to venture into walls requiring an engineer’s stamped drawings.This client contacted me because he was weary of a backyard bank that was too steep to mow or maintain. In the beginning, we were considering tiered walls combined with steps to lead from the front door to the walkout basement. We were also keeping the walls less than 48” high to avoid the requirement for an engineer. Ultimately the steps were removed from the design due to cost.There were several challenges. First, the toe slope was extreme. It was about 2.5 : 1, or 37%. Just 4’ out from the wall, it dropped 18” in many areas. Second, we had access only from the top. Third, we had clay soils. (Ironically, the client’s surname was Clay.) And finally, we had runoff from the driveway and house roof that would impact the wall.
Overcoming site challenges
How did we overcome those site challenges?
- Increased base thickness from our standard 6” to 8” to provide a better footing on the clay soil.
- Increased embedment to 24” - 32” due to the extreme toe slope.
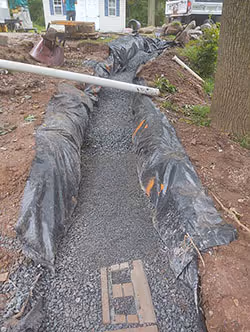
- Installed 36” of clean stone behind the wall. While the NCMA standard is a minimum of 12” of drainage stone behind the wall, our standard is 36”. This speeds compaction, improves drainage and reduces lateral pressure on the wall.
- Put in extensive drain pipes to handle runoff water.
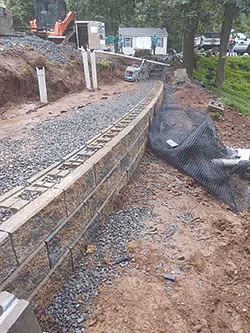
The PVC risers are to connect roof gutter drains and surface drainage systems. Schedule 40 pipe was used and pipes routed beneath the wall footer.
Ch-ch-ch-changes
We had the project finalized, permits filed and approved. Then… the client dropped a bombshell. He wanted to eliminate the tiers and go with a single taller wall. This increased the height even beyond the 2 original tiered walls combined. He was concerned that the lower tier would appear too low. Going with the taller wall did increase the budget, but it was still less expensive than the original plan that included all the steps.I first contacted an engineer and described site conditions and how we proposed to build our wall. I wanted to make sure our construction standards were close to his recommendations so I could put together a pre-bid with reasonable accuracy for this taller wall. We present a pre-bid to clients to ensure their project is within their budget prior to hiring an engineer.Little changed from my original plans other than slightly longer geogrid runs at the tallest point of the wall. The client approved the pre-bid, pre-paid the engineering costs, and I hired the engineer.
Construction commences
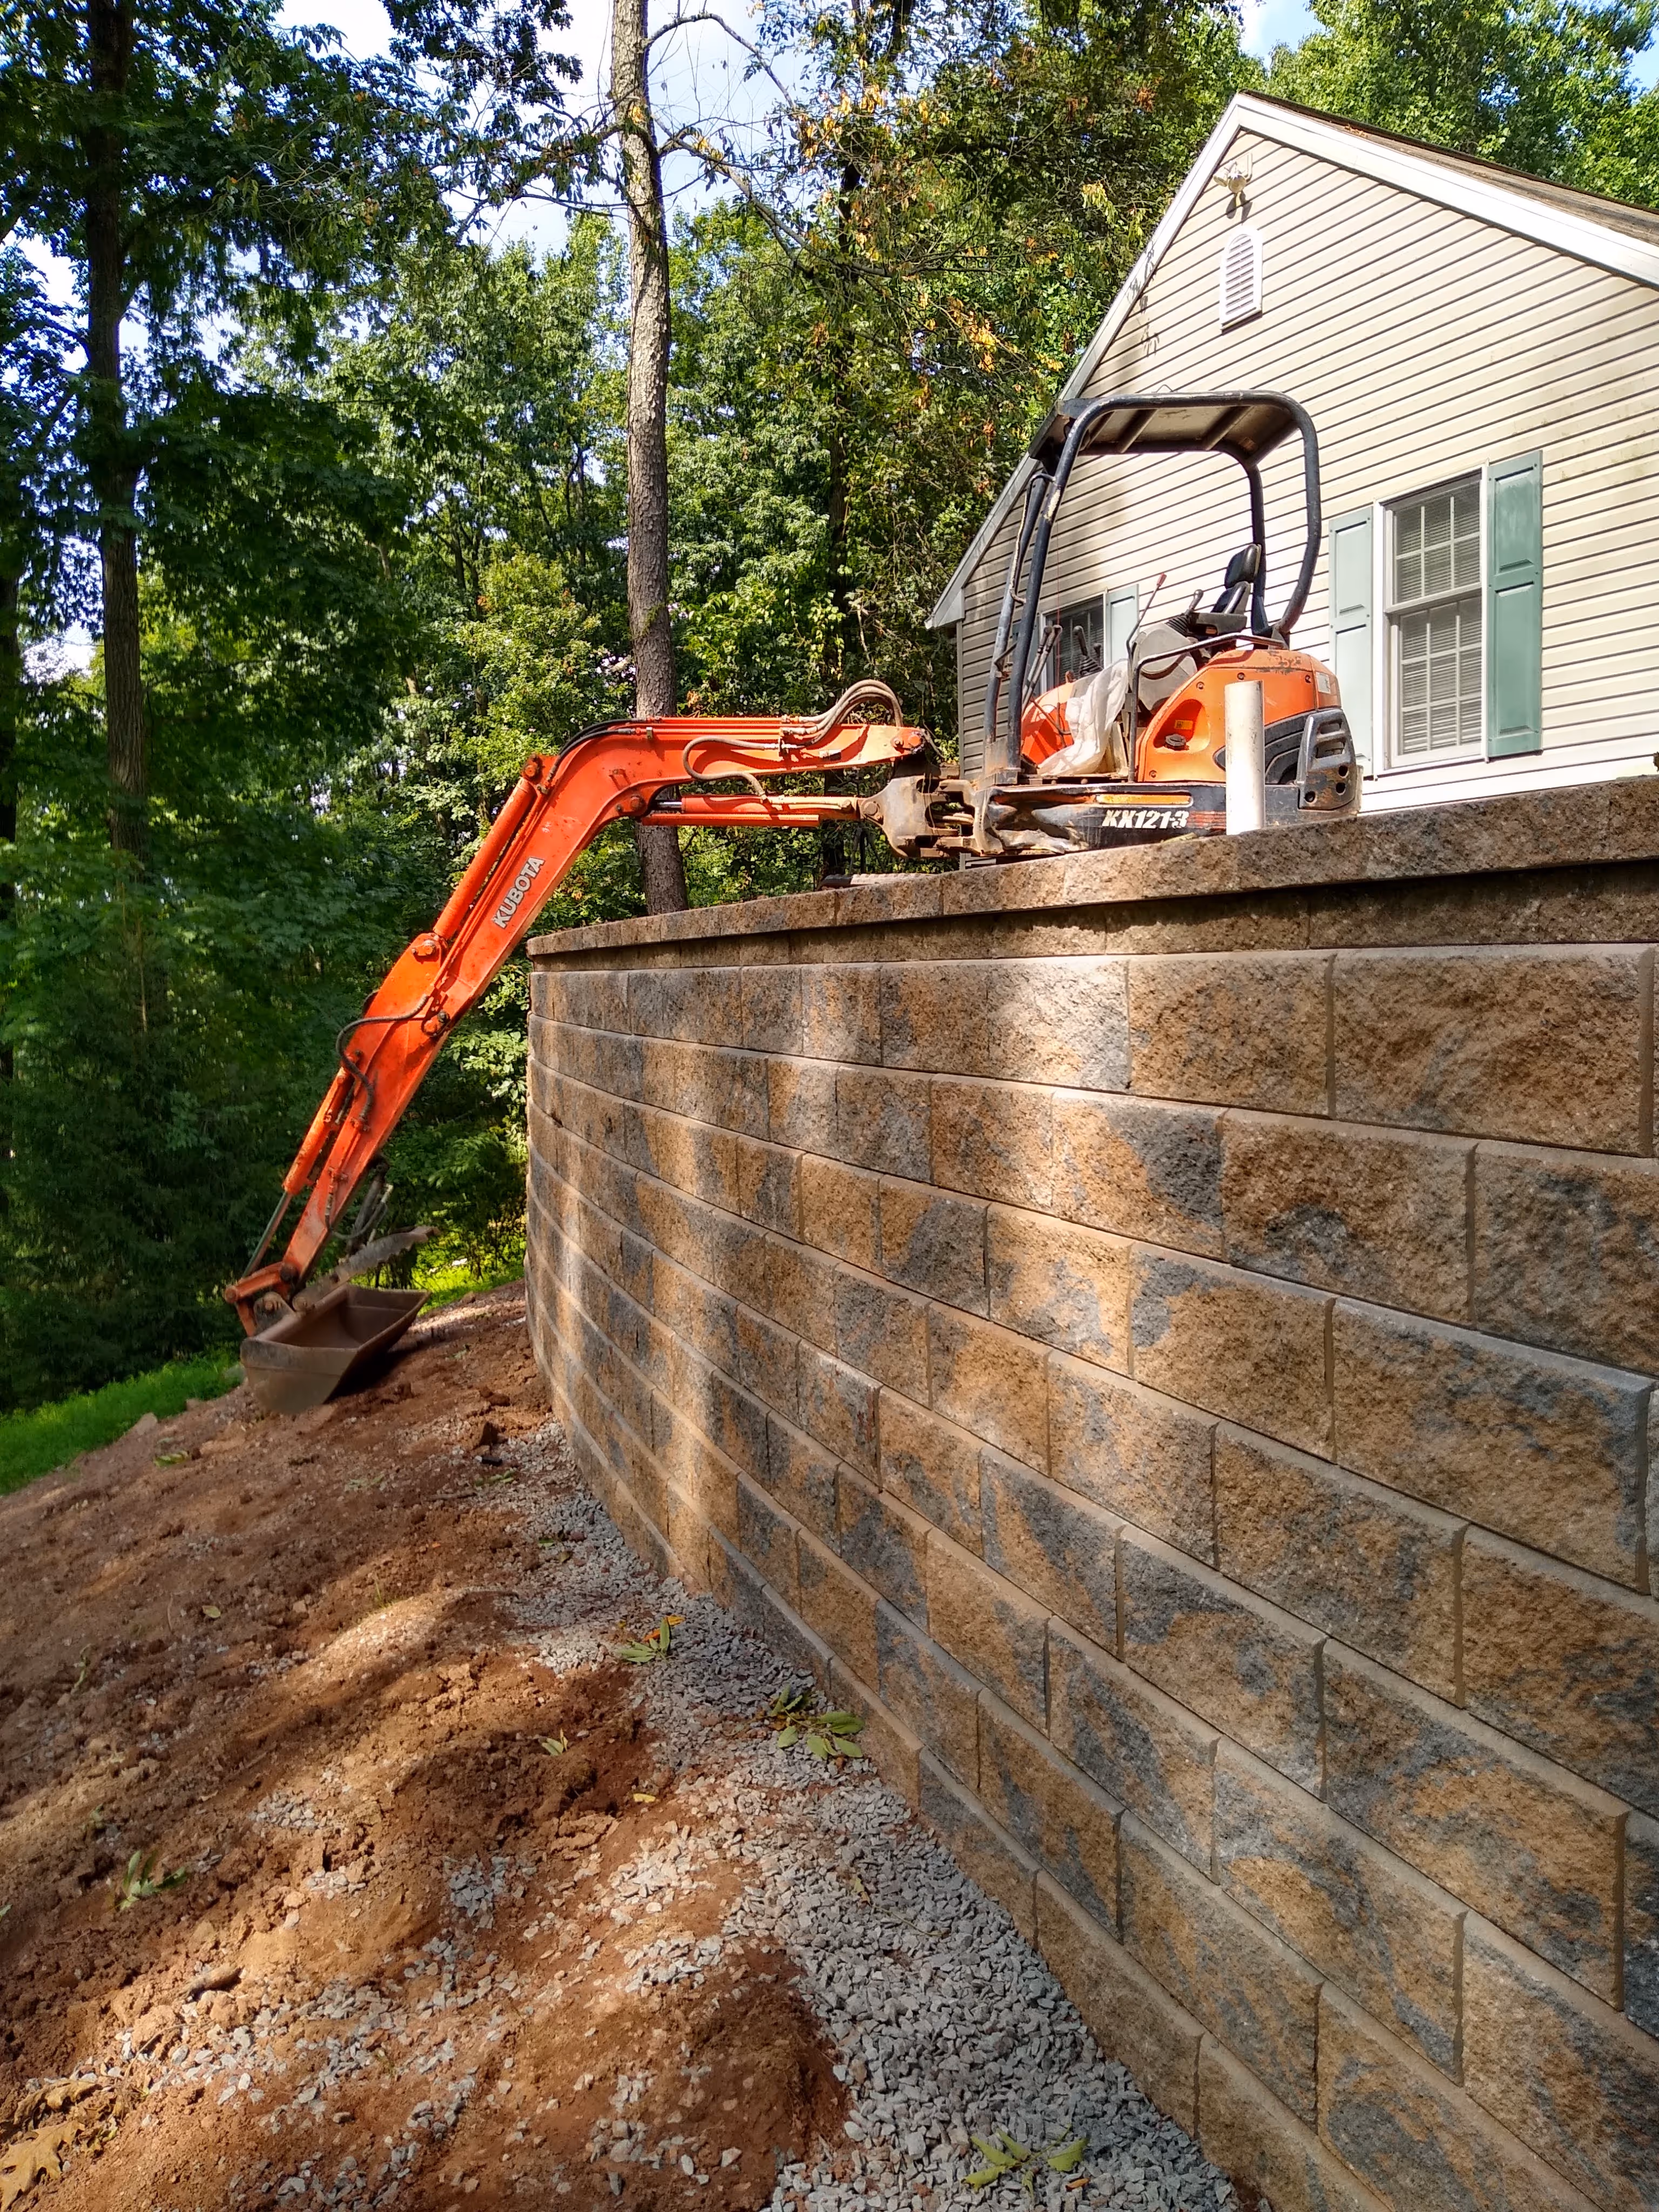
Once I received the engineer’s drawings, we filed an amendment for the permit with the township. That was approved with no issues, and we were off! I had specifically told the client we couldn’t work there over winter or in wet conditions due to the steep slope.We experienced a rather dry June, but as soon as we broke ground in July the rains started again. It was not unusual to lose 2 days after a rainstorm due to unsafe conditions. Clay soil isn’t stable particularly when wet, and working from top side only we had to avoid working close to the bench cut when it was saturated.We invested in lifting clamps; with access only from the top side, we had to lift block down approximately 6’ to the base course. The Multi-Block and BL-450 clamps from Pave Tool saved a lot of back-breaking labor. It was still hard work and didn’t progress as fast as we had hoped. But the clamps did allow us to work day after day in the heat, which probably wouldn’t have been the case if we were throwing 105 lb blocks down a hill so we could lay them by hand!
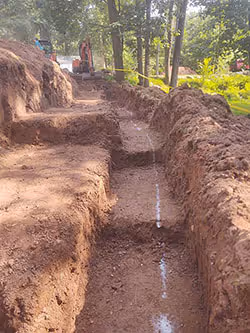
Footer and bench cut for geogrid were stepped as per the plan.
We had only a few surprises or issues. One extra step we took was mixing #57 stone with the onsite soils when backfilling the wall. All of the soil was clay, but some was also sandy. This is particularly hard to compact unless moisture content is perfect. Adding the stone improved the gradation of the soils and enabled us to continue working when it would have otherwise been too wet.We also found evidence of fill having been imported during construction of the home decades earlier. We made sure that our base was installed on the virgin soils rather than on the fill. In some places, we had to increase base depth to do so.
Jeremy Martin co-founded Willow Gates Landscaping in 2005. He became an ICPI instructor in 2016, NCMA in 2018. He also founded Dust Killer Tools to help his company meet 2017 OSHA silica standards. Email Jeremy@DustKiller.tools. Visit WillowGatesLandscaping.com and DustKiller.tools
Project Profile
Willow Gates Landscaping LLC
Mohnton, PA
Project Designer & Manager
Jeremy R. Martin
Engineer
Shippee Engineering
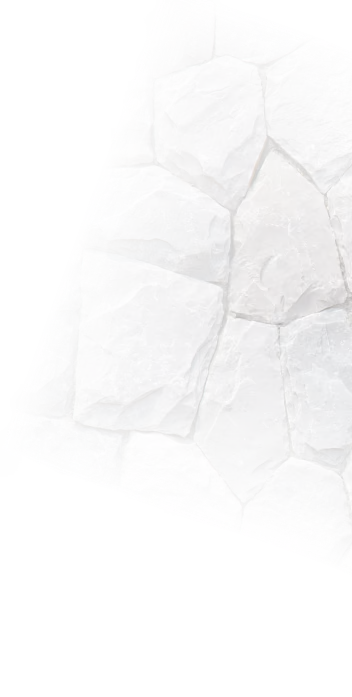
Wall block
Techo-Bloc Suprema with Mini Creta banding
Maximum wall height
10’ (including base courses)
Project value
$50,000
In-house work
Retaining wallsUnderground drainageLow voltage electricPlantings & landscapingSite drainage
Work done by others
none
There's more where that came from!
Sign-up for our free newsletter to get industry news, advice from experts and project features in your inbox.


.jpg)
.jpg)